5 Drawing Skills Every Facilitator Needs


“Advocacy and Inquiry Model” proposed by Chris Argyris and Don Schön
It’s clear that Barry and Samir will never see eye to eye. One thinks that the testing system should be manual to catch more bugs and the other wants to automate.
A lightbulb hits.
You grab your marker and a blank flip chart and draw two intersecting lines. You label one axis “advocacy” and one “inquiry.” Then you explain that the right answer will only be found if each tries to understand the view of the other.
Facilitators are not illustrators, nor do they need to be; however, basic drawing skills are an essential tool to be able to quickly draw models and create engaging and informative meeting visuals.
Our self-paced course Introduction to facilitating with visuals covers essential skills from basic drawing to flipcharts, enhanced slides and visual templates.
💡 Here are the 5 drawing skills that every facilitator should have in their back pocket.
Grab a flipchart and your favorite marker and let’s practice! 👇
Straight Lines
Once you can draw straight lines, you have everything you need to create better triangles and box shapes.
To draw a straight vertical line, hold your shoulder and elbow still as you “drop” down. It’s easier to go top to bottom. Think “single leg lunge.”
To draw a horizontal line, hold your shoulder and elbow still as you move from side to side. Imagine a heavy book on your head so that you keep your weight evenly distributed. It’s easier to go left to right.
Circles
To draw a circle, hold your arm in front of you with your elbow straight and draw circles in the air. You can use the natural motion of your shoulder joint to draw a circle. To draw smaller circles, get closer to the chart and continue the shoulder movement with a bent elbow. Clockwise is easier. Don’t go too slow.
You can draw anything using boxes, triangles and circles put together. Start practicing a few essential icons with our Icon Practice Pages.
Figures
Up your stick figures by using a box or an oval for the body. Remember that arms start at the should joint (or corner of the box).
Need more guidance? Grab our “Stick Figure Makeover” instruction sheet.
Clouds
I put clouds around everything. They are perfect for a quick container or to section off content in your mindmap.
Arrows
An arrow that goes beyond a line with a tip on it takes a little more practice. I like to start with a three sided box. Then draw a dot a little ways out from the open side of the box. Draw to short lines towards the outside of the box from the open side. Finally connect the ends of those lines to the point. If that sounds confusing, try watching the video.
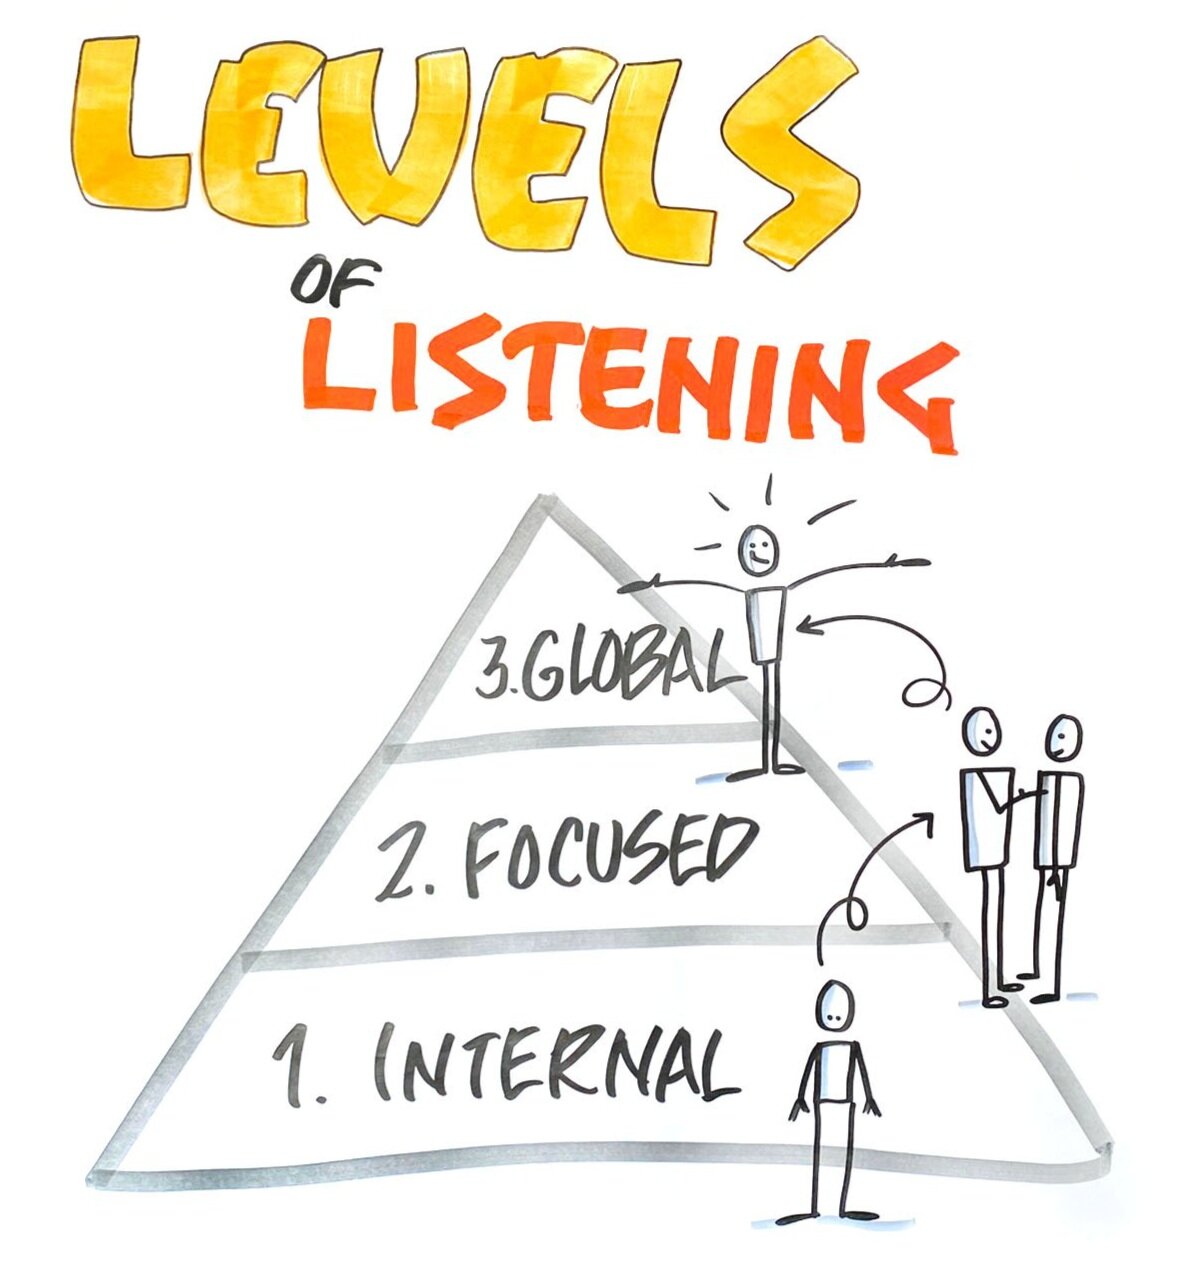
TRY THIS: Draw a Model (5 Mins)
Choose a model that you use all the time when you facilitate. One of my favorites is “Levels of Listening.”
Practice drawing the model on a piece of paper or a flipchart.
Add a figure to give your model a human touch.
As an added bonus, draw the model during a meeting as you speak to the key elements. Our module on “Drawing Live and on the Fly” in our course will help you build confidence with this.
Ready to keep drawing? learn even more essential skills in our free three day graphic jam challenge.
If you enjoyed this article, join our email list to never miss a post and receive exclusive timely resources.
This blog is part of a series:
Check out our toolkit for resources on hybrid meetings, visual notetaking and facilitation.